As a WooCommerce store owner, you may want to change something in a WooCommerce template from time to time. This might be changing the wording of an email template on the checkout page or something else altogether.
Traditionally, you would add the WooCommerce template to the appropriate directory in a theme. However, since Classic Oxygen disables the WordPress theme system, you can upload it to a specific path on your server. Classic Oxygen has some further information for this here.
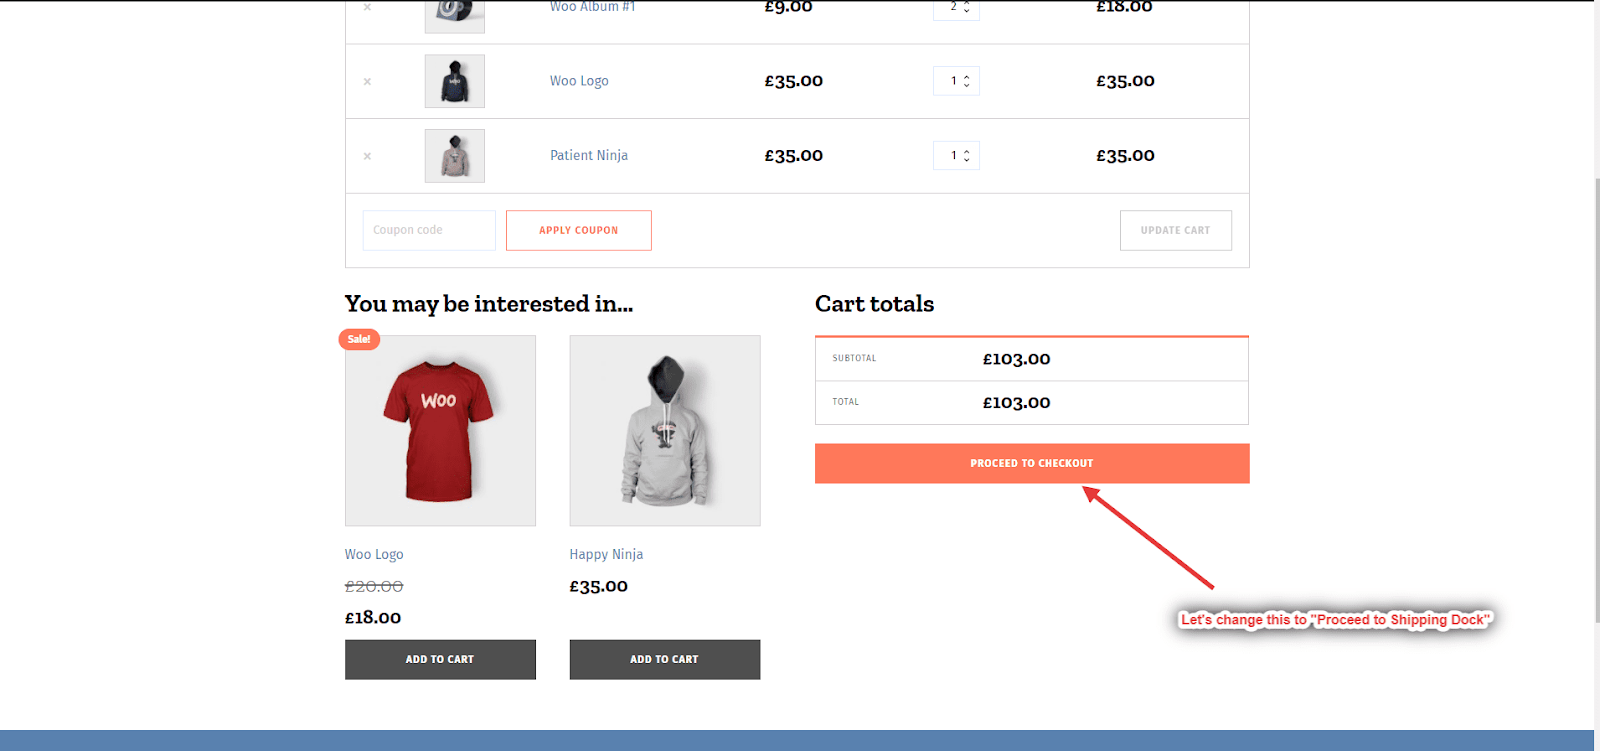
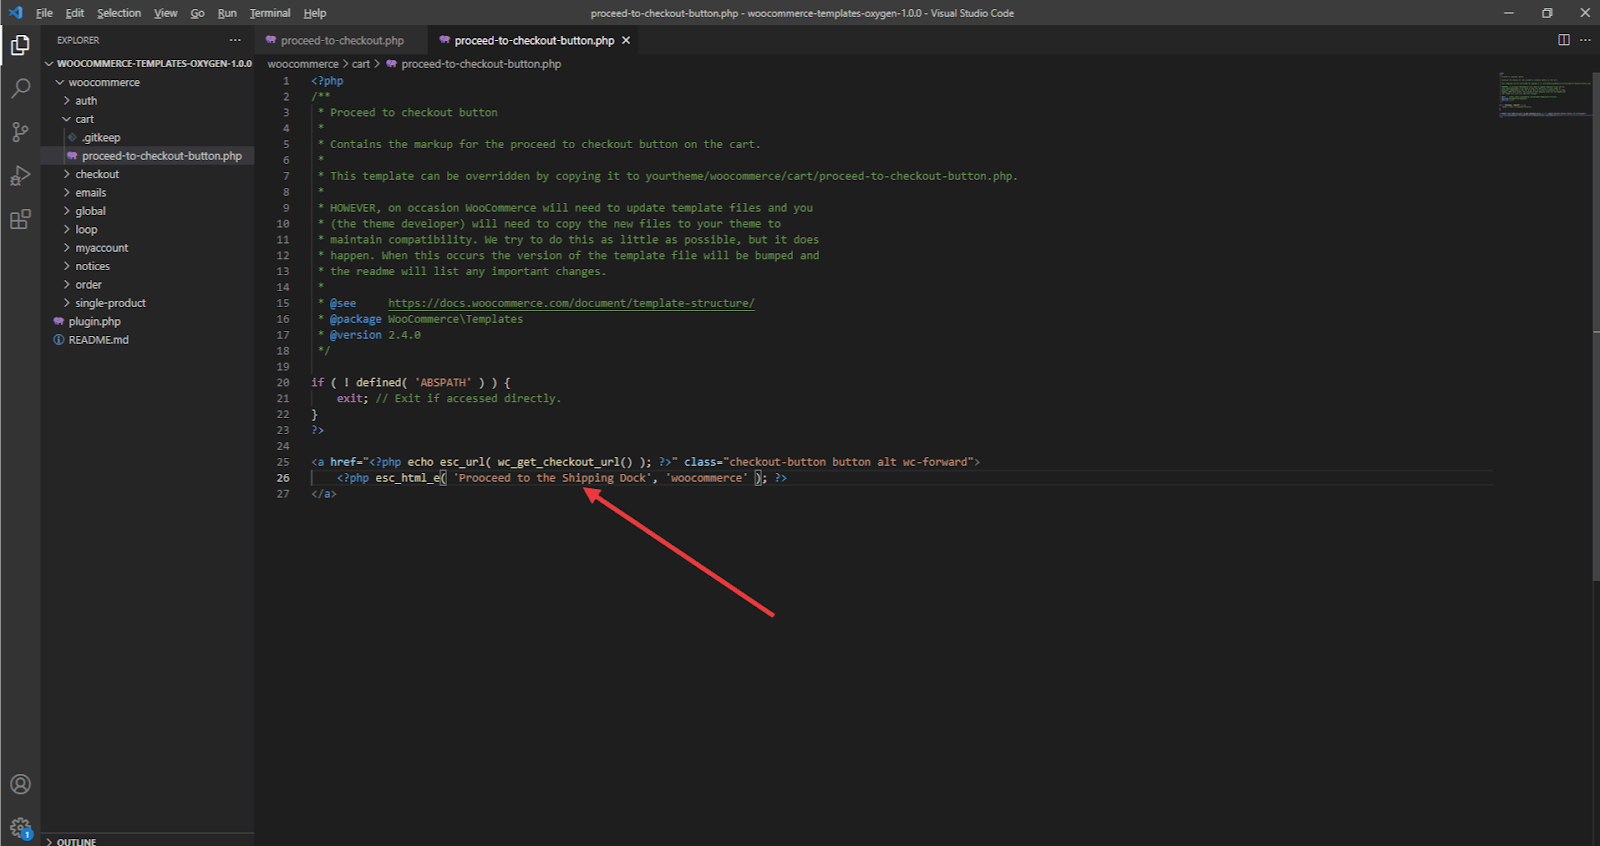
Let’s assume you’d like to change the “Proceed to checkout” text on the product page to “Proceed to Shipping Dock”.
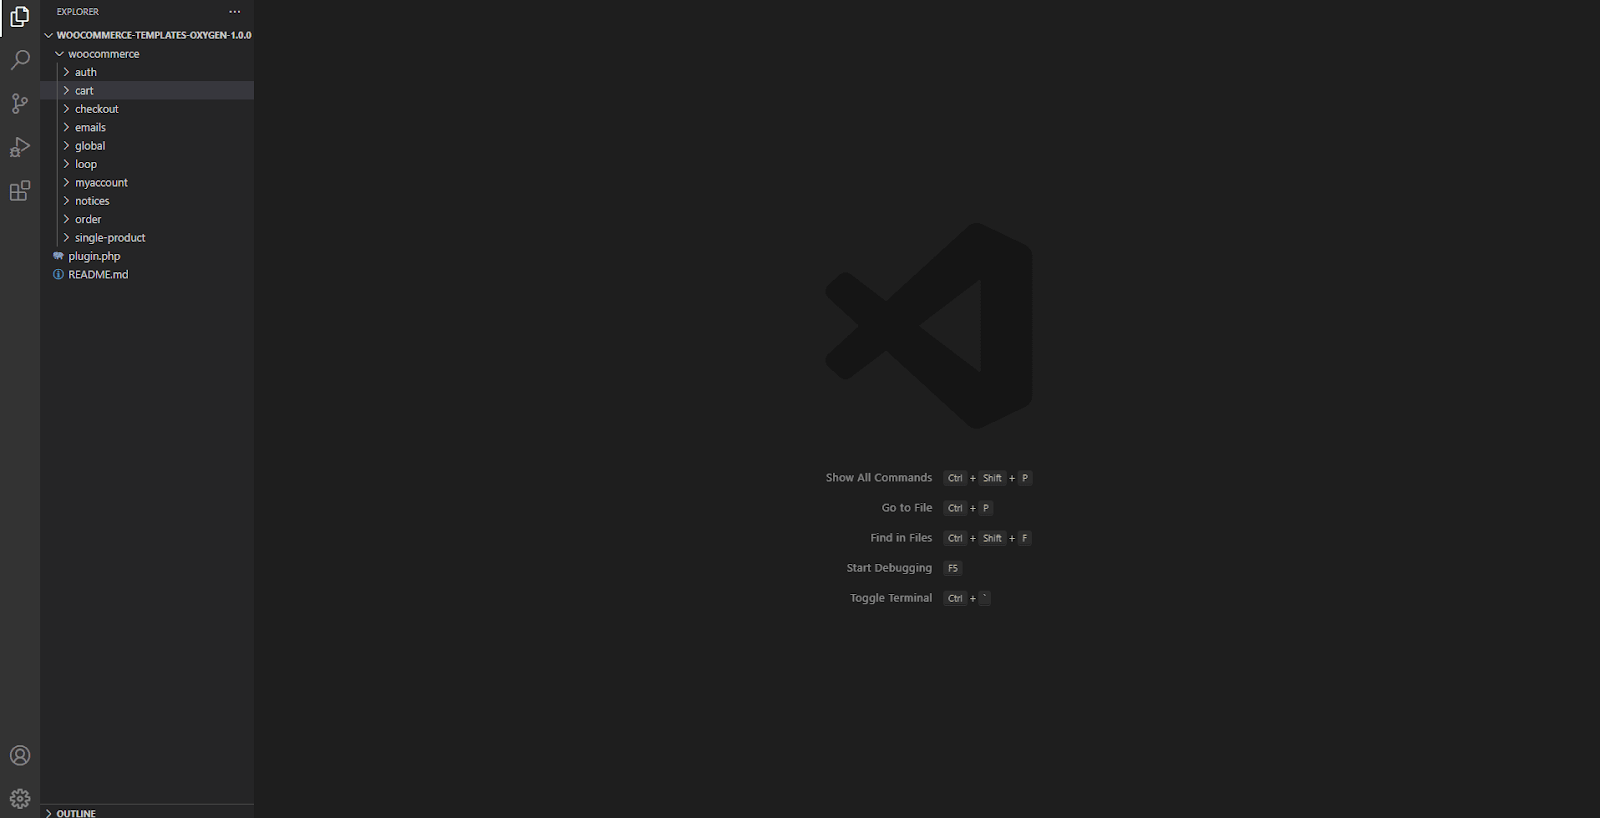
To do this, open a code editor, such as Visual Studio Code.
Now, you’re ready to get the desired WooCommerce template file. Use the WooCommerce Template Structure link above to be directed to WooCommerce’s GitHub and find the appropriate template for the version of WooCommerce you are using.
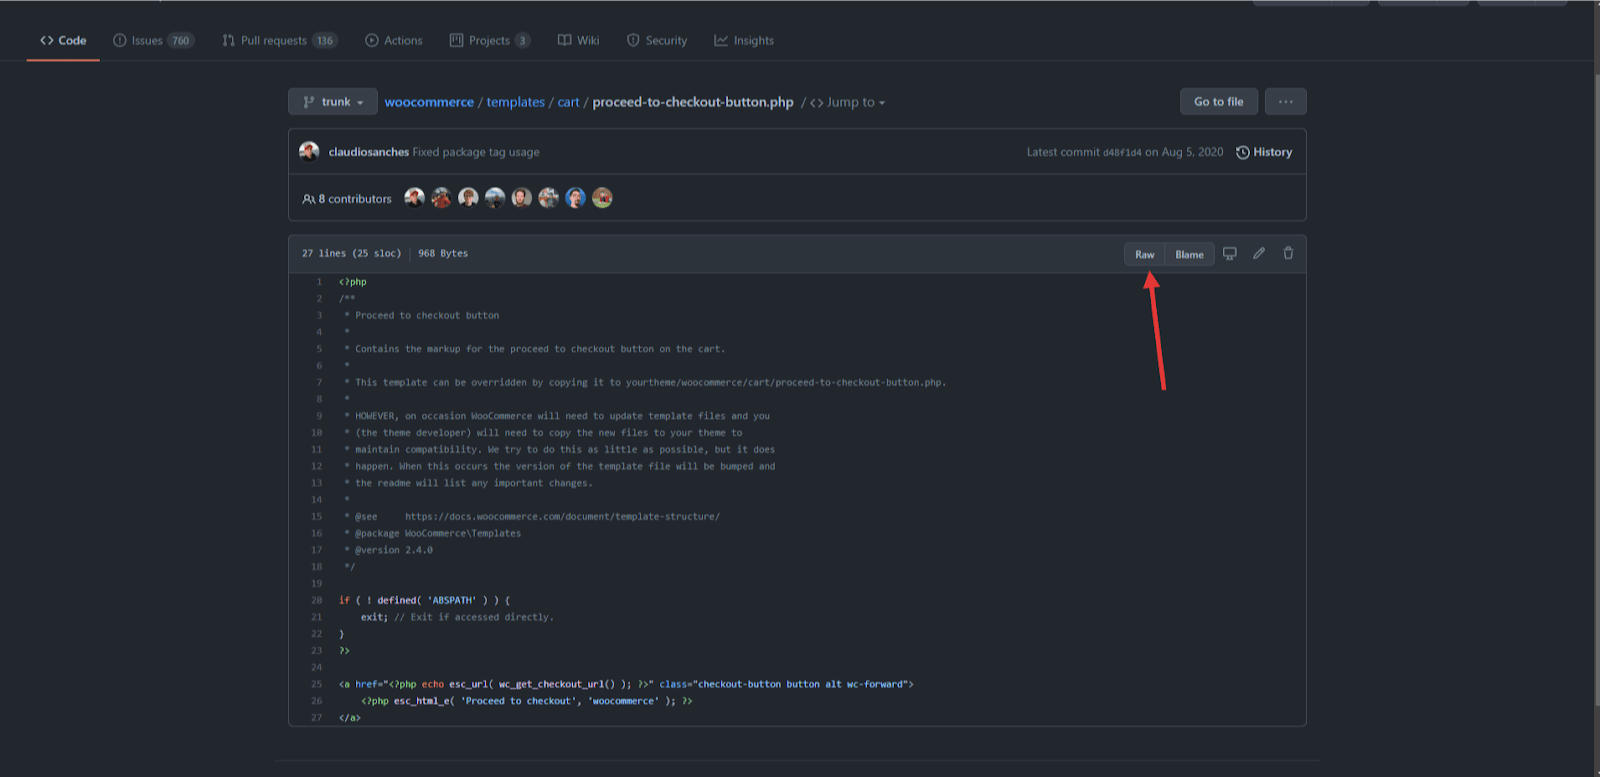
For this example, the template may be found under Templates > Cart: https://github.com/woocommerce/woocommerce/blob/trunk/templates/cart/proceed-to-checkout-button.php.
The easiest way to get this template into the plugin is to click the Raw button on GitHub and copy the code on that page.
Go back into your code editor, and create a new file under the WooCommerce > Cart directory called proceed-to-checkout-button.php.
It’s crucial that the filenames and locations in your plugin directly match the location in WooCommerce. Otherwise, the override may not work correctly.
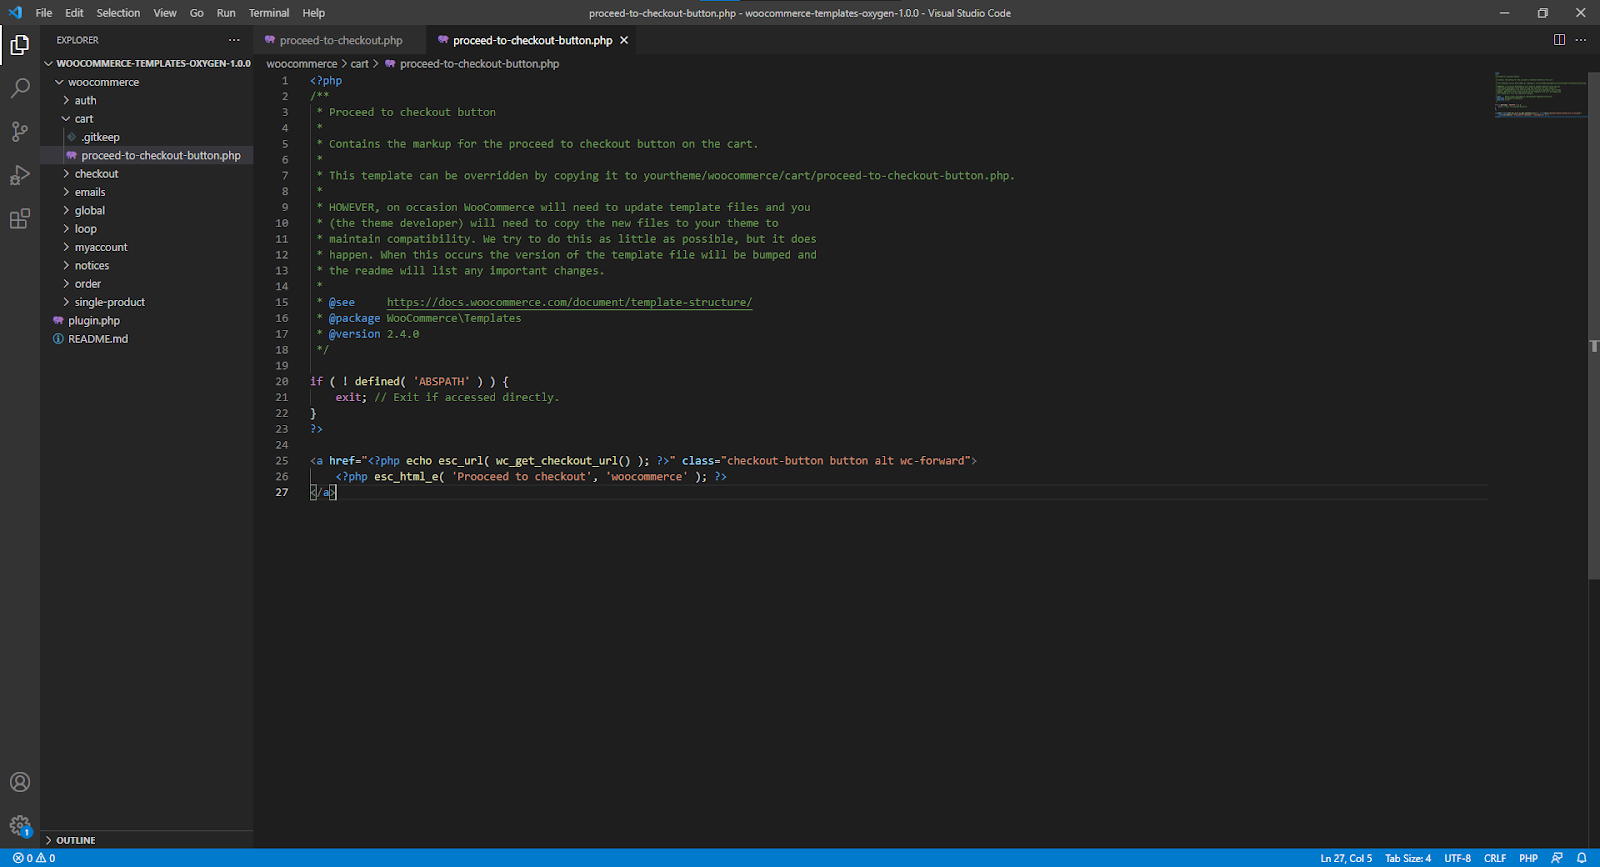
Now you can edit the template as needed. In this scenario, we are simply updating the “Proceed to checkout” text to “Proceed to Shipping Dock”. Once you’re happy with the changes, save the file.
Now, all you’ll need to do is upload that file to /wp-content/oxywoocotemplates/woocommerce/cart on your server.
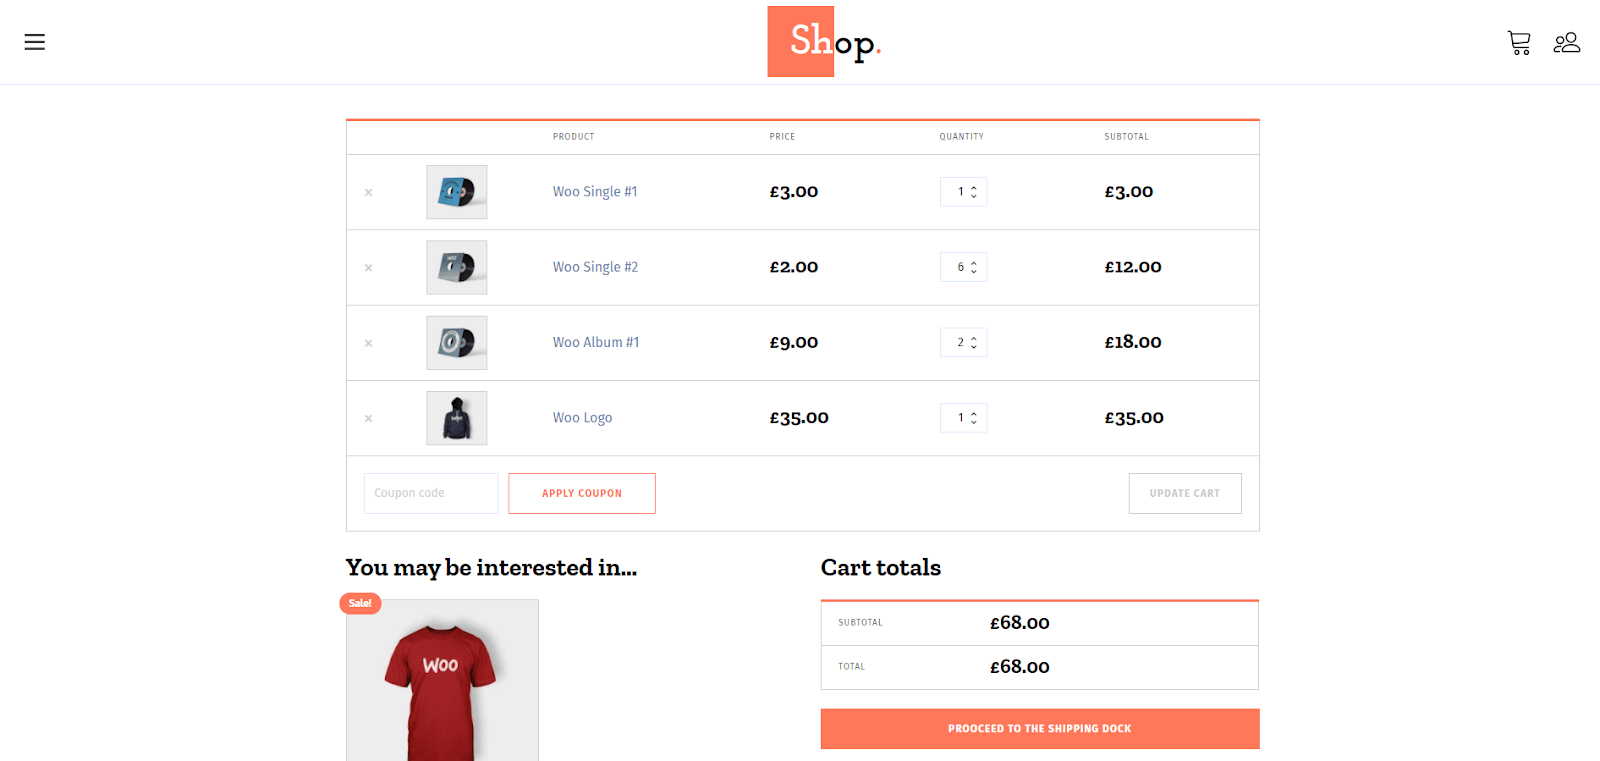
Once activated, you should be able to navigate to the Cart page and see the changes.
That’s all there is to it.
Happy voyages!